

Ready to dive into the amazing world of custom stickers? Using printable sticker paper is your secret weapon for turning beautiful digital designs into real, hold-in-your-hand stickers. It's the perfect way to add a personal touch to your planners, journals, or any creative project you can dream up.
Your Journey into Custom Sticker Making
Getting started might seem a little intimidating, but trust us, it’s much easier than it looks. We're here to break it all down and show you that anyone can jump into this super fun and rewarding hobby. All it takes is a splash of creativity and the right gear to start making your world a little more you.
This guide will walk you through the entire process, from picking the right paper to hitting 'print' and cutting out your very first sheet. Our goal is to give you the know-how and confidence to bring your brilliant ideas to life as high-quality, professional-looking stickers. This isn't just about sticking pretty things on a page; it’s about making your life and your organization tools work perfectly for you.
Why Make Your Own Stickers?
Honestly, making your own stickers gives you a level of customization that you just can't get from a store-bought pack. You get to design stickers that fit your exact needs, whether that's for organizing your work life, home projects, or your personal wellness journey.
-
Total Creative Freedom: You can match your stickers to the exact vibe of your favorite digital planner or just invent a whole new theme from scratch. The power is all yours.
-
Functional Organisation: Think custom labels, habit trackers, and unique little icons that slide right into your daily planning routine like they were always meant to be there.
-
Endless Possibilities: It doesn't stop with planners! You can whip up labels for your pantry jars, create personalized gift tags, or even deck out your laptop.
Sticker making is so much more than a craft. It’s a way to sprinkle your personality into every corner of your life, turning organization from a chore into a creative outlet.
By the time you finish this guide, you’ll have everything you need to start printing. So let's get into it and unlock that creative magic. For more inspiration and to connect with other creative minds, be sure to pop over to The Planners Hub. Let’s get making!
Choosing the Right Printable Sticker Paper
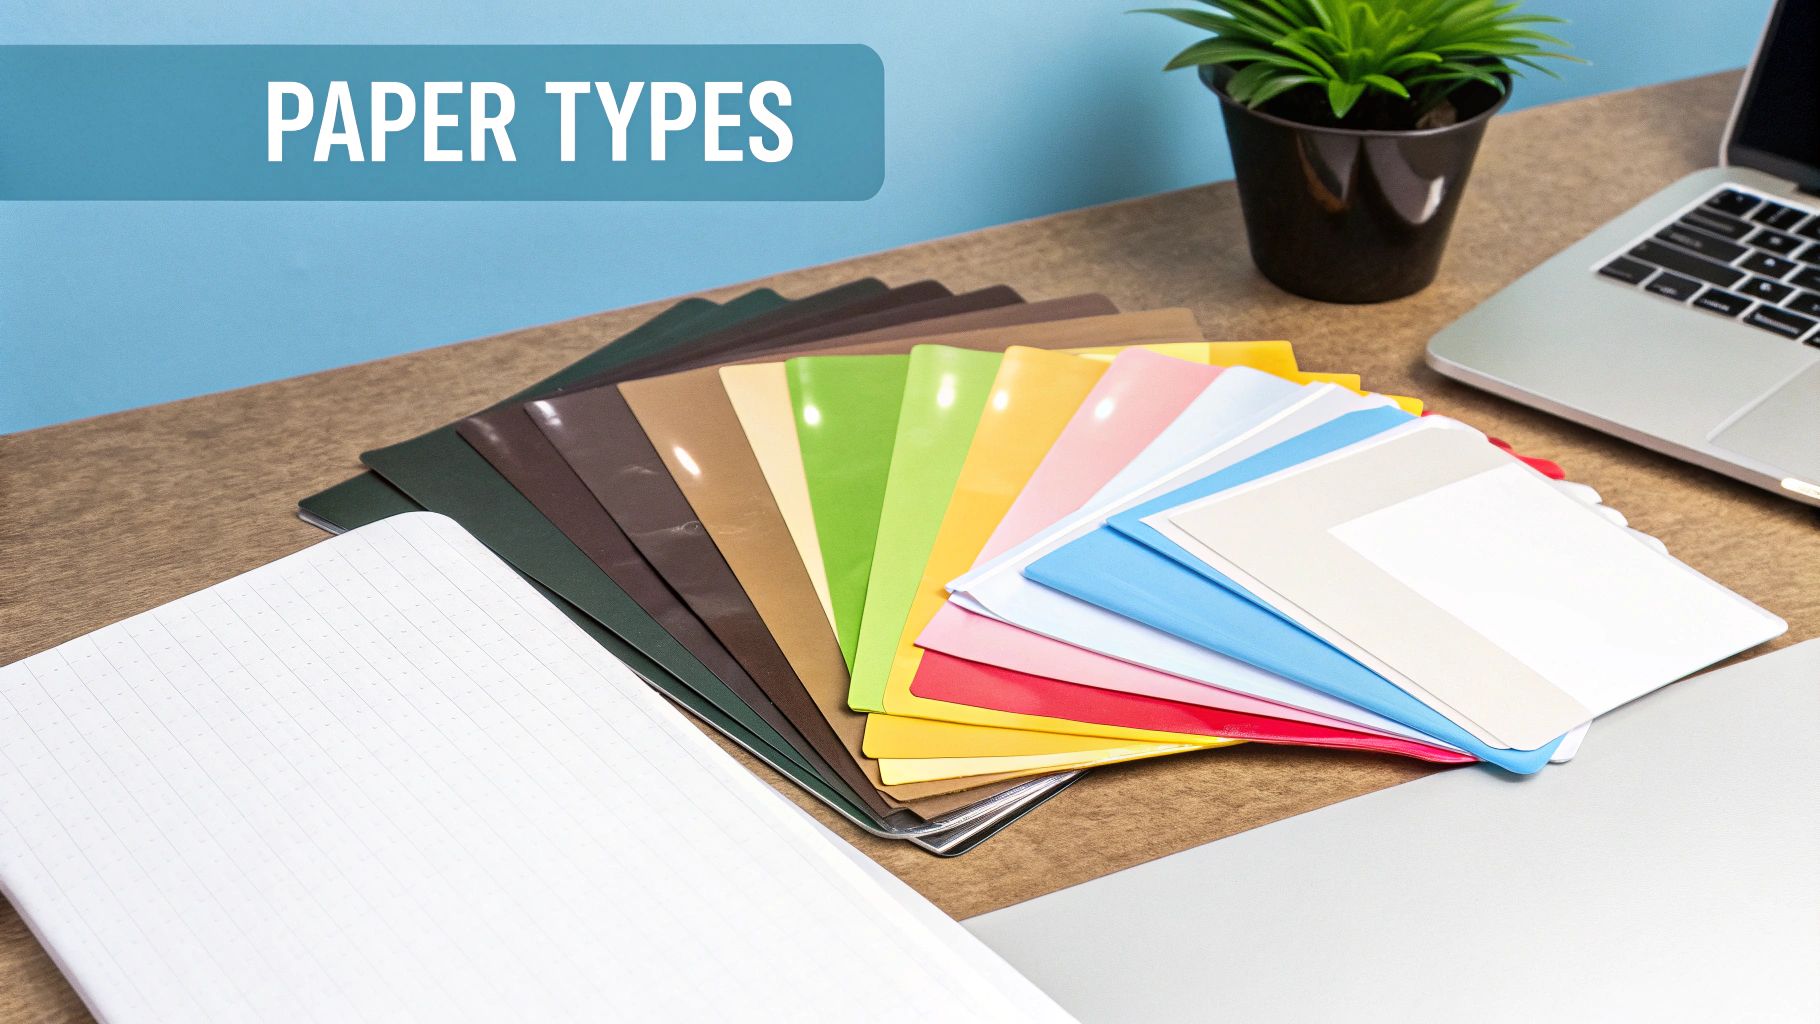
Picking the right printable sticker paper is like choosing the perfect canvas for a painting. The paper you choose is the foundation of your project, and not all options are created equal. Getting this first step right is the secret to making sure your final stickers look exactly how you imagined them.
The world of printable sticker paper is full of fantastic choices, each with its own vibe. You've got classic matte finishes you can write on, vibrant glossy papers that make your colors absolutely sing, and so much more. The best choice really comes down to what you're trying to create.
Understanding Different Paper Finishes
Let's break down the most popular types of sticker paper you'll come across. Each finish has a distinct look and feel, making it a better fit for certain projects. Once you get the hang of these, you'll be able to pick the perfect paper with confidence every single time.
-
Matte Sticker Paper: This is your trusty, all-around option. It has a smooth, non-shiny surface that’s a dream to write on with pens or markers. Think habit trackers, planner labels, or any sticker you need to jot down notes on.
-
Glossy Sticker Paper: If you want your colors to look incredibly rich and vibrant, glossy is your best friend. Its shiny finish gives stickers a professional, photo-quality look, ideal for decorative stickers or any bold design that needs to grab attention.
-
Vinyl Sticker Paper: For stickers that need to be tough and go the distance, vinyl is the undisputed champion. It’s more durable than regular paper and is often water-resistant, making it perfect for decorating things that see a lot of action, like water bottles, laptops, or phone cases. In Australia, the demand for this kind of high-quality printable media is massive, with the self-adhesive vinyl films market expected to hit USD 167.94 million in 2024. You can explore more market insights on this trend from Data Bridge Market Research.
-
Clear (Transparent) Sticker Paper: This one is a game-changer when you want your design to blend right into the surface. It’s perfect for creating that "no-border" look on your planner pages, glass jars, or any colored background you're working with.
This image really shows how the versatility of printable sticker paper can open up a huge range of creative possibilities.
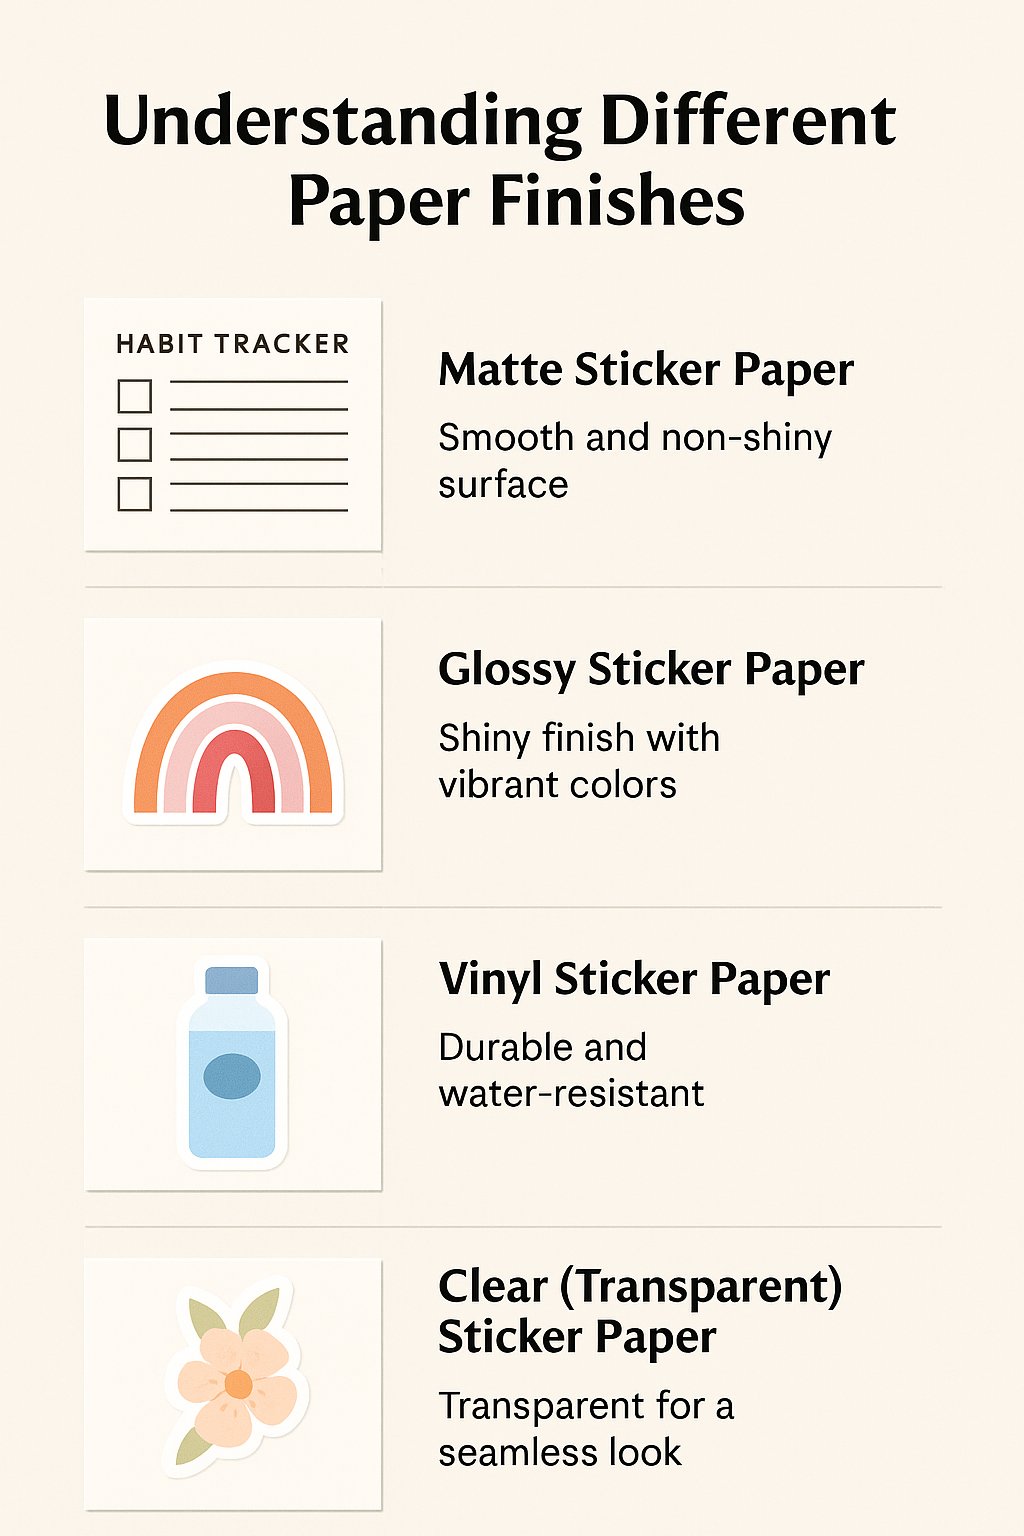
It’s a great reminder that the right paper choice can turn a simple design into a beautiful and functional sticker that's perfectly suited for whatever you have in mind.
Printable Sticker Paper Finishes Compared
To make it even easier, here’s a quick side-by-side look at the different finishes. Think of this as your cheat sheet for choosing the best option for your next project.
Paper Type |
Best For |
Pros |
Cons |
|---|---|---|---|
Matte |
Functional planner stickers, labels, anything you need to write on. |
Easy to write on, no glare, classic look. |
Colors can appear less vibrant than on glossy paper. |
Glossy |
Decorative stickers, photo stickers, vibrant designs. |
Makes colors pop, professional finish, feels premium. |
Can be hard to write on, shows fingerprints. |
Vinyl |
Durable, long-lasting stickers for laptops, water bottles, cars. |
Water-resistant, tear-proof, very durable. |
Can be thicker and more expensive. |
Clear |
Creating a "no-outline" look, decorating glass or colored surfaces. |
Blends seamlessly with the surface, looks clean and modern. |
Designs need good contrast to show up well. |
Hopefully, seeing them all laid out like this helps clarify which paper will bring your sticker vision to life!
How to Select the Perfect Paper
So, how do you actually decide which one is right for you? It all boils down to what your project needs. Are you making something decorative or functional? Does it need to stand up to wear and tear, or is it just for a one-off use?
Think about the end-use first. A sticker for a child’s lunchbox needs different qualities than a label for your weekly planner spread. Matching the paper to the purpose is the key to sticker success.
For example, if you’re designing adorable milestone markers for a baby book, a high-quality glossy paper would capture those memories beautifully. Our New Mum & Baby Sticker Pack has gorgeous pre-made designs that look stunning on a vibrant glossy finish.
But if you're creating custom labels to get your pantry organized, a writable matte paper is going to be way more practical.
Your choice of sticker paper sets the stage for your entire project. By getting to know the unique strengths of each type, you can confidently pick the perfect material to make your designs shine. Now, let’s get that printer fired up!
How to Calibrate Your Printer for Perfect Prints
Alright, you've picked out the perfect printable sticker paper. Now for the fun part: getting your printer dialed in to work its magic. Think of your printer settings as a recipe for your stickers. A few small tweaks can be the difference between a pretty good result and something that looks genuinely professional. Don't worry, it's not nearly as complicated as it sounds!
Whether you’re team inkjet or team laser, a quick calibration ensures your digital designs look just as good on paper as they do on screen. Getting this right from the start means you can dodge those frustrating smudges, paper jams, and colors that just seem a bit… off.
Let's walk through the simple steps to get your printer ready for showtime.
Optimising Your Printer Settings
Your first stop is the printer dialogue box—that little window that pops up just before you hit the final print button. This is where you tell your machine exactly what kind of material it's about to handle. So many people skip this step, but a few quick clicks here will set you up for success.
Here are the three most critical settings to get right:
-
Paper Type or Media Type: This is the big one. Your printer needs to know it isn't dealing with flimsy office paper. Look for options like 'Photo Paper Glossy', 'Premium Matte', or even 'Labels'. This setting tells the printer how much ink to use, giving you a flawless finish.
-
Print Quality: 'Standard' just won't cut it for vibrant, eye-catching stickers. Always crank the quality up to the highest possible setting. It might be labeled 'High', 'Best', or 'Photo'. Yes, it uses a bit more ink, but the sharp, saturated result is totally worth it.
-
Paper Size: Double-check that the paper size matches the A4 (or other) sticker paper you’ve loaded. If these don't match up, you can run into annoying alignment issues, which is a real headache if you plan on using a cutting machine later.
Think of it like this: you wouldn't bake a cake on the grill setting. Choosing the right paper type and quality gives your printer the exact "baking instructions" it needs for perfect, smudge-free stickers every single time.
Quick Printer Maintenance for Flawless Results
Before you commit a full sheet of that beautiful new sticker paper, it's always smart to run a couple of quick maintenance checks. These simple tasks can save you from common print fails like streaks or fuzzy lines, making sure every sticker comes out looking crisp. You can usually find these options in your printer's software, often under a 'Maintenance' or 'Tools' tab.
A quick check-up can save you a whole lot of time, ink, and paper down the line. The two most helpful tasks are a nozzle check and a print head alignment. A nozzle check prints a test pattern to see if any ink jets are clogged, while a print head alignment ensures the ink is being laid down in perfectly straight, crisp lines.
Nailing these simple steps means every sticker sheet you create, whether it's for your personal planner or another fun project, will come out looking absolutely fantastic. Now you’re ready to bring those designs to life!
Designing and Printing Your First Sticker Sheet
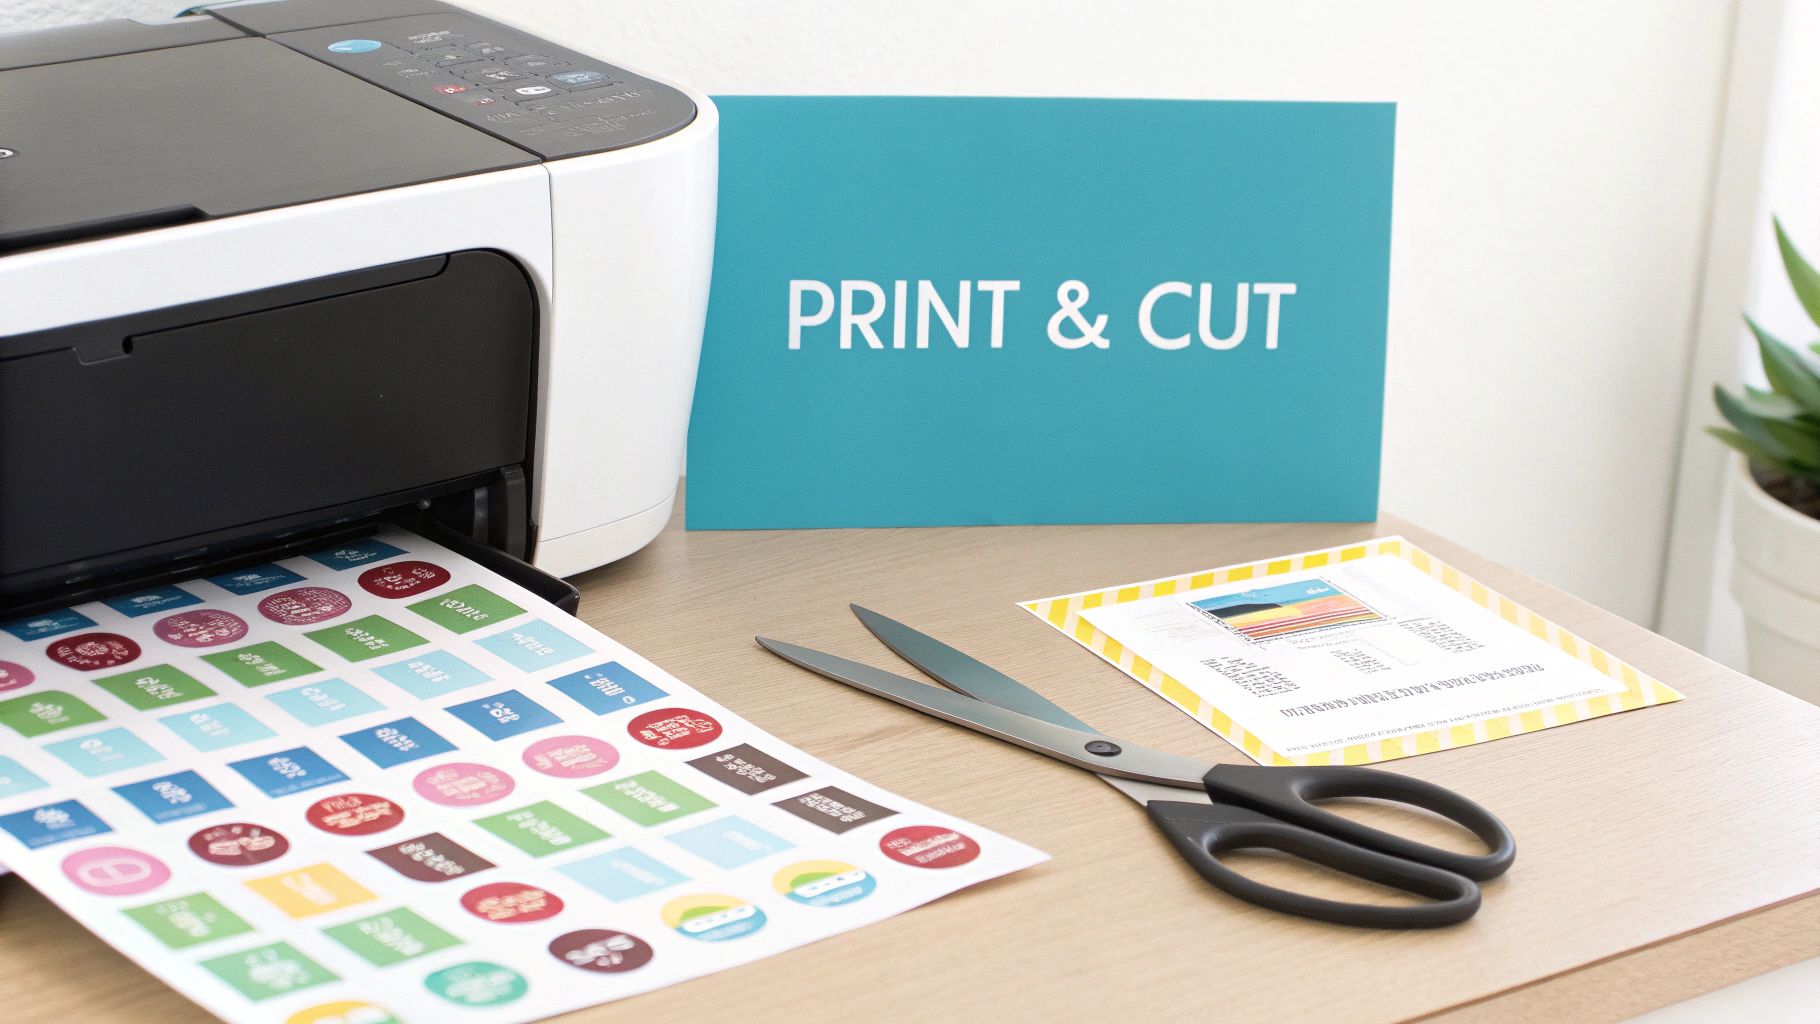
Alright, your printer is all warmed up and ready to go. Now for the really fun part! This is where you get to bring your ideas to life, creating a full sheet of custom stickers that perfectly match your style and help you get organized. There's something incredibly satisfying about turning a digital concept into something you can actually hold.
And don't worry if you don't feel like a professional designer. Modern tools have made this whole process a breeze for everyone. We’ll walk you through everything you need to know to make sure your first print is a massive success, so you can feel confident making endless designs for all your planners and projects.
Getting Started with Your Design
The best place to begin is with a design tool that’s simple and intuitive. You really don't need fancy, complicated software to make beautiful sticker sheets. Platforms like Canva are brilliant for beginners, offering free templates and a super easy drag-and-drop interface. Just start with a blank A4 canvas and you can start placing your designs.
One of the most important things to get right is the resolution, which we measure in DPI (dots per inch). For anything you print, you should always aim for 300 DPI. This is the secret to making sure your images come out looking sharp, crisp, and professional. If you use a low-resolution image (like one you've just saved from a website), it'll probably end up looking blurry or pixelated.
Think of DPI like the thread count on a set of sheets. A higher thread count means the fabric feels smoother and more luxurious. In the same way, a higher DPI means your printed image will be clearer, sharper, and packed with detail.
Arranging Your Sticker Sheet Layout
Once your designs are ready, the next step is laying them all out on your A4 canvas. The goal here is to be as efficient as possible, fitting as many stickers as you can onto a single sheet of printable sticker paper to avoid any waste.
This personalized approach to printing is a growing niche, even as the broader Australian printing industry shifts. While traditional print revenue has seen a small dip, customizable media for personal and small business use is booming. You can check out more insights on Australian printing industry trends from IBISWorld.
Here are a few quick tips for a great layout:
-
Leave a Margin: Don't push your designs right to the very edge of the page. It's always a good idea to leave a small border (about 1cm) so nothing gets accidentally cut off by the printer.
-
Group and Rotate: Have a bit of fun rotating your stickers and nesting smaller designs into the gaps around larger ones. Think of it like a game of Tetris—the goal is to use up every last bit of space!
-
Add Cut Lines (Optional): If you're lucky enough to have a cutting machine like a Cricut or Silhouette, you can add a faint outline (often called an "offset") around each sticker. This gives the machine a perfect path to follow for a clean, precise cut.
Using Pre-Made Digital Sticker Kits
If designing everything from scratch feels a little overwhelming, grabbing a pre-made digital sticker kit is a fantastic shortcut. These kits come packed with professionally designed elements that are ready to go. You just arrange them on your page and hit print. It's a super simple way to get beautiful, cohesive stickers without any of the heavy lifting.
For example, our Baby Care Label Stickers are a lifesaver for new parents trying to get organized. You can easily pop these labels onto an A4 sheet in Canva, print them on some matte sticker paper, and get to work labeling everything from bottles to nappy supplies. It's an easy way to create functional, gorgeous labels in just a few minutes.
With these simple tips in your back pocket, you're all set to print a sticker sheet you can be truly proud of.
Mastering the Art of Cutting Your Stickers
Getting that clean, crisp cut is the final touch that makes your homemade stickers look truly professional. It’s that polished edge that takes them from good to great. Luckily, you’ve got a couple of fantastic options to get this done, whether you prefer the hands-on approach or want to let a machine do the work.
We’ll walk through both methods, proving you don’t need a room full of expensive gear to get amazing results. Your creativity is the main ingredient here; cutting is just the final, satisfying step that brings your designs to life. Let's get those stickers looking sharp!
Cutting Your Stickers by Hand
Cutting stickers by hand is a wonderfully accessible option that puts you in complete control. With a bit of patience and a steady hand, you can get some beautiful results. It's a satisfying process that connects you directly to your craft.
For simple shapes like squares, circles, or rectangles, a sharp pair of scissors will do the job perfectly. Here's a little trick for getting smooth, clean curves: turn the paper, not your scissors. Keep your cutting hand steady and simply guide the sticker sheet with your other hand. For more detailed designs with tight corners and tricky angles, a craft knife and a self-healing mat are your best friends.
Think of a craft knife as your precision tool. It lets you follow delicate lines that scissors just can’t handle, giving you that perfectly detailed edge on more complex designs.
Using an Electronic Cutting Machine
If you’re planning on making stickers in bulk, an electronic cutting machine like a Cricut or Silhouette is a game-changing investment. These machines are designed to cut with incredible precision, saving you a ton of time and effort while delivering flawless results every single time. It’s like having a tiny, robotic assistant in your craft room.
These machines work by reading cut lines you set up in your design software and then slicing precisely around each sticker. This is where you'll hear two key terms pop up: 'kiss cut' and 'die cut'.
-
Kiss Cut: This is the go-to cut for sticker sheets. The machine’s blade slices through the printable sticker paper but leaves the backing paper completely intact. This lets you peel your stickers off a full sheet, just like the ones you’d buy in a store.
-
Die Cut: This method cuts straight through both the sticker paper and the backing paper, creating individual, custom-shaped stickers. This is perfect if you want to hand out stickers as little gifts or sell them one by one.
Getting the hang of these cutting techniques is a really fun part of the sticker-making journey. Whether you're perfecting your scissor skills or setting up a cutting machine, each method helps you create beautiful, functional items for your planners. And if you're looking for clever ways to store your new creations, a dedicated booklet like The Ultimate Digital Planning Companion can help keep everything beautifully organized.
Creative Ways to Use Your Custom Stickers
So, you've officially unlocked the magic of making your own stickers. Now what? It's time for the best part—putting your amazing creations to work!
Think of your custom stickers as your secret weapon for organizing your life with a splash of personality. Forget those boring, generic organizers. You're now in the driver's seat, ready to design a system that’s 100% you. This is where your new hobby really comes to life, weaving creativity into your everyday routine. Let’s dive into some fun ways to use your stickers to make your day more organized and a whole lot brighter.
Elevate Your Planning System
Your planner is the perfect playground for your new stickers. They have the power to turn a simple, blank layout into a vibrant, functional command center for your entire life. Just imagine creating stickers that perfectly match your goals and your aesthetic.
-
Custom Habit Trackers: Why settle for a generic grid? Design trackers that match your planner's color scheme for everything from staying hydrated to your daily reading goal.
-
Color-Coded Calendars: Bring order to the chaos by assigning specific colors to different parts of your life—like work, family, and personal time. Create matching icon stickers, and you'll be able to see what's on your plate at a single glance.
-
Motivational Quotes: Print out your favorite affirmations or powerful quotes. Stick them on your weekly spreads for that little boost of encouragement right when you need it.
Your custom stickers are so much more than just pretty decorations; they're a powerful, functional extension of your planning style. They let you build a productivity system that’s not only effective but also deeply personal and inspiring.
And you're not alone in loving all things custom! The global demand for personalized goodies is skyrocketing. The sticker market was valued at a whopping USD 4.61 billion in 2024 and it’s only expected to climb higher, all thanks to our collective love for customization. You can read more about the growing sticker market on Market Data Forecast.
Looking for a little inspiration to get started? Our incredible Stickers, Widgets & Covers collection is bursting with stunning designs, all ready for you to download and print.
These ideas are just a starting point, of course. The real goal is to create a system that genuinely motivates you and makes staying on top of things feel less like a chore and more like play. Your planning journey is uniquely yours—now go make it beautiful!
Got Questions About Printable Sticker Paper?
Once you start making your own stickers, you're bound to run into a few tricky spots. It happens to everyone! Let's walk through some of the most common questions to clear things up so you can get back to creating with confidence. Think of this as your go-to guide for those little "uh-oh" moments.
Getting these details sorted is the key to making sure every project turns out just right.
Key Material and Tech Fixes
Nailing that professional, polished look all comes down to understanding your materials and your printer. Here are a few simple answers to the questions that often trip up beginners.
-
Inkjet vs. Laser Paper: This is a big one. You absolutely have to use the right printable sticker paper for your printer. Inkjet paper is porous, designed to soak up liquid ink for those rich, vibrant colors. Laser paper, on the other hand, is built to handle the high heat from a laser printer's toner. If you mix them up, you could end up with smudged ink or even damage your printer.
-
Making Stickers Waterproof: Want to protect your creations from a little rain or a spill? You have a couple of great options. The quickest way is to apply a clear, self-adhesive laminate sheet over your printed stickers before you cut them out. For maximum durability, you can also buy special waterproof vinyl paper right from the start.
-
Why Do My Print Colors Look Different? Ever designed the perfect sticker on screen, only for it to look a bit off when printed? That’s totally normal! Your screen uses an RGB (Red, Green, Blue) color model, which is based on light. Printers use a CMYK (Cyan, Magenta, Yellow, Black) model, which is based on ink. To get them to match up better, try calibrating your printer settings—it can make a huge difference.
Just like using our Daily Positive Affirmation Cards helps build your confidence, mastering these little details will make your sticker-making journey feel fun and empowering. Keep playing around with it, and you'll be a pro before you know it.
✨ Ready to Start Creating Your Own Stickers?
Now that you know the ins and outs of printable sticker paper, printer settings, and cutting techniques, you’re officially ready to bring your sticker dreams to life. Whether you’re decorating your planner, organizing your home, or adding a little personality to your laptop, making your own stickers is the perfect way to combine creativity with functionality.
👉 Want to skip the design work and start printing right away?
Explore our Stickers, Widgets & Covers Collection — packed with gorgeous, ready-to-print designs that work seamlessly with planners, journals, and creative projects.
👉 Looking for unlimited sticker kits, planner templates, and done-for-you designs?
Join The Planners Hub — our membership that gives you instant access to hundreds of PLR-ready planners, stickers, and creative resources you can use personally or even resell.
Your creativity deserves the right tools — and with Inkstagram Studio by your side, you’ll always have the perfect sticker for every page, project, and plan. 🌈✨
Happy Planning❤️📒📆